

What harms does Xvidly do?
1. Xvidly infection get into systems without any permission;
2. Xvidly Center's reputation & rating online is terrible;
3. Xvidly may affect and modify compromised computers' important system files;
4. Xvidly may install other sorts of spyware/adware without computer users' knowledge.
Technical details for removing Xvidly
A. Efficient Manual Removal Guide:
Step 1. Disable any suspicious startup items that are made by infections from Xvidly
For Windows Xp: Click Start menu -> click Run -> type: msconfig in the Run box -> click Ok to open the System Configuration Utility -> Disable all possible startup items generated from Xvidly.
For Windows Vista or Windows7: click start menu->type msconfig in the search bar -> open System Configuration Utility -> Disable all possible startup items generated from Xvidly.
Step 2. Remove add-ons:
Internet Explorer
1) Go to 'Tools' → 'Manage Add-ons';
2) Choose 'Search Providers' → choose 'Bing' search engine or 'Google' search engine and make it default;
3) Select 'Search Results' and click 'Remove' to remove it;
4) Go to 'Tools' → 'Internet Options', select 'General tab' and click 'Use default' button or enter your own website, e.g. Google.com. Click OK to save the changes.
Google Chrome
1) Click on 'Customize and control' Google Chrome icon, select 'Settings';
2) Choose 'Basic Options'.
3) Change Google Chrome's homepage to google.com or any other and click the 'Manage search engines...' button;
4) Select 'Google' from the list and make it your default search engine;
5) Select 'Search Results' from the list remove it by clicking the "X" mark.
Mozilla Firefox
1) Click on the magnifier's icon and select 'Manage Search Engines....';
2) Choose 'Search Results' from the list and click 'Remove' and OK to save changes;
3) Go to 'Tools' → 'Options'. Reset the startup homepage or change it to google.com under the 'General tab';
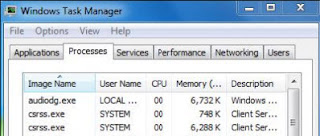
Step 3. Open Windows Task Manager and close all running processes.
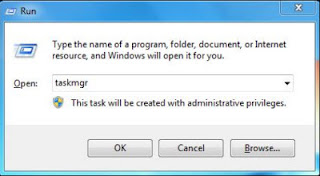
Methods to open Task Manager: Press CTRL+ALT+DEL or CTRL+SHIFT+ESC or Press the Start button->click on the Run option->Type in taskmgr and press OK.
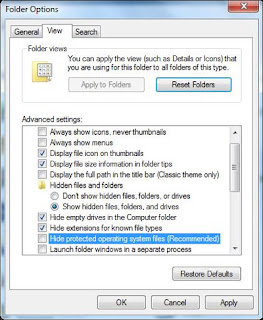
Step 4. Show all hidden files
Open Control Panel from Start menu and search for Folder Options. When you’re in Folder Options window, please click on its View tab, check Show hidden files and folders and uncheck Hide protected operating system files (Recommended) and then press OK.
Step 5. Remove these associated Files on your hard drive such as:
%AppData%\CheckRun xVidly.exe
%AppData%\Microsoft\Internet Explorer\Quick Launch\ xVidly.lnk
%UserProfile%\Desktop\ xVidly.lnk
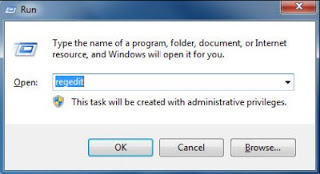
Step 6. Open the Registry Editor and delete the following entries:
Hit Win+R keys and then type regedit in Run box and click on OK
HKEY_CURRENT_USER\Software\Microsoft\InternetExplorer\SearchScopes\{33BB0A4E-99AF-4226-BDF6-49120163DE86}
HKEY_CURRENT_USER\Software\Microsoft\Windows\CurrentVersion\Internet
HKEY_LOCAL_MACHINE\SOFTWARE\Microsoft\Windows\CurrentVersion\Uninstall\CheckRu xVidly Virus _uninstaller
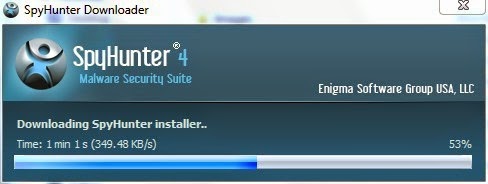
Step 1. Download SpyHunter, then double click on it to install it.
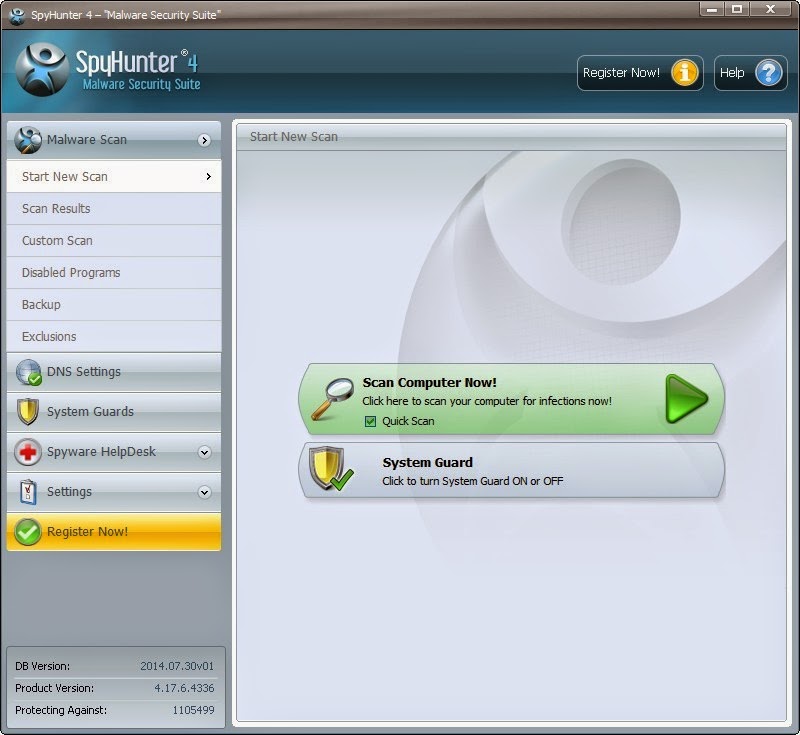
Step 2. Tick mark on Quick Scan then click on Scan Computer Now!
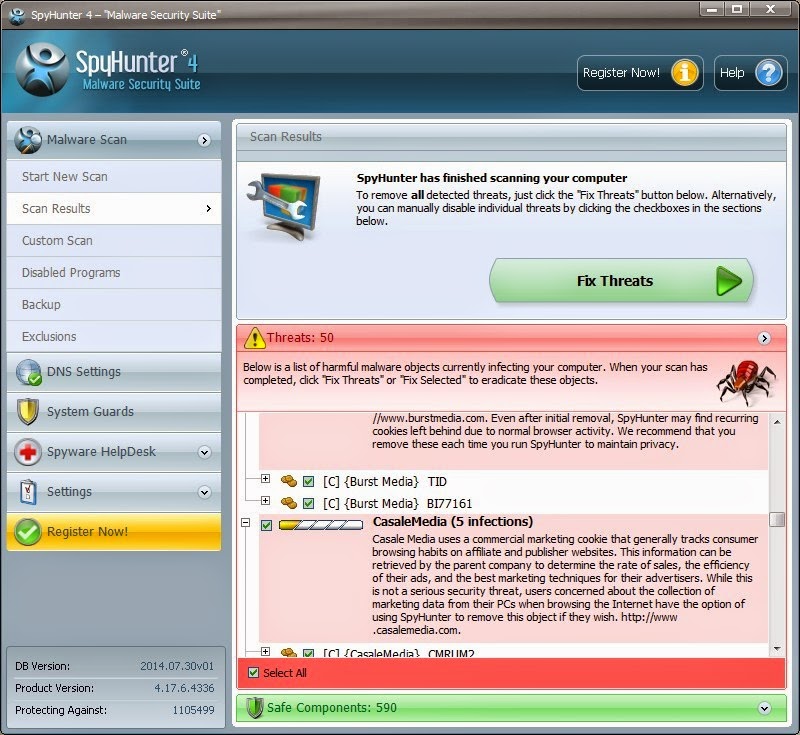
Step 3. When the scan done, click on Fix Threats.
Friendly Reminded:
For the people who are not familiar with computer knowledge, the automatic removal is much more easier than the manual one. It is recommended to use SpyHunter when you face any malicious virus, it will remove it completely. Click here to download SpyHunter freely.
Step 2. Tick mark on Quick Scan then click on Scan Computer Now!
Step 3. When the scan done, click on Fix Threats.
Friendly Reminded:
For the people who are not familiar with computer knowledge, the automatic removal is much more easier than the manual one. It is recommended to use SpyHunter when you face any malicious virus, it will remove it completely. Click here to download SpyHunter freely.
No comments:
Post a Comment